
Today, for us diesel nuts, boost is a way of life. We don’t know anyone who prefers a naturally aspirated diesel over a turbocharged one in a truck. This increased boost allows us to fill the cylinders with more air and that additional air, means we can burn more fuel. Simple equation, more air and more fuel equals more power. When Turbonetics Inc., manufacturer of Spearco Intercoolers invited us to come get a behind the scenes look at how they are made, we knew we had to take them up on the offer.
 So, What is the Problem?
Unfortunately, having your cake and eating it too isn’t a law or something that nature always abides by. There are some drawbacks to having more pressure and the majority of those come in the form of additional heat. For simplicity sake, let’s assume the air in our engines acts like an ideal gas (if you don’t know what that is, just bear with us). This means that pressure times volume divided by temperature equals a constant ([PV]/T=R is the actual formula). What this relationship tells us is that as pressure and volume go up, temperature must also increase in order to balance out.
If we increase the pressure and volume of the air to make more power, we get more heat. What does that really mean? Well, at low pressures and flow, not much. The temperature does go up but the additional volume and minor pressure increase offset the increased temperature and all is well. That is why many of the early diesel trucks didn’t have intercoolers. They weren’t producing enough heat to really affect anything.
Today on the other hand, boost pressure can range from high 20s to low 30s (psi) on factory trucks and some competition trucks are running well over 100 psi. This much pressure means quite a bit of increased volume at a huge cost of temperature. It isn’t uncommon to see factory turbo outlet temperatures in the 300 degree range and competition trucks well over 500 degrees (F).

This Spearco Intercooler features cast tank ends for the 3rd gen Dodge Ram 5.9L Cummins (02-07).
If we do some small assumptions (cold air standards), a rough estimate is that for every degree increase in inlet temperature (inlet into the cylinder) will increase the exhaust temp by 3x. In addition to the temperature increasing, the density of the air decreases and the resulting combustion temperatures could easily get out of control due to over fueling if it wasn’t for one key piece of equipment, the intercooler.
The Solution
A heat exchanger, or as we call it on our trucks an intercooler, is an incredible device that facilitates us making more power and higher boost pressures without increasing our inlet temperatures. An intercooler is a device that assists in removing heat from one fluid (air in our case) and transfers it to another.
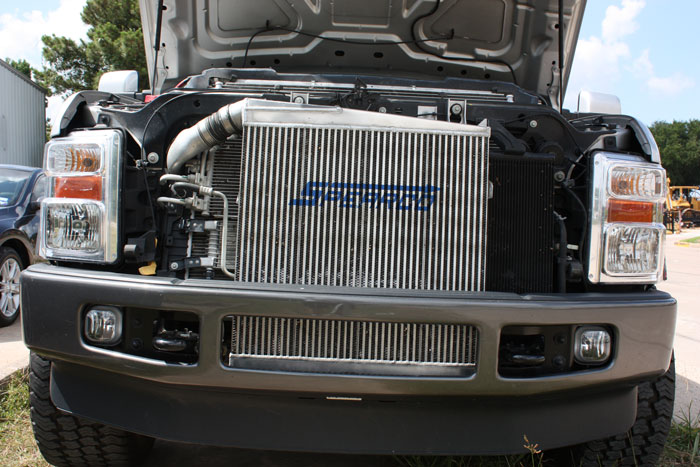
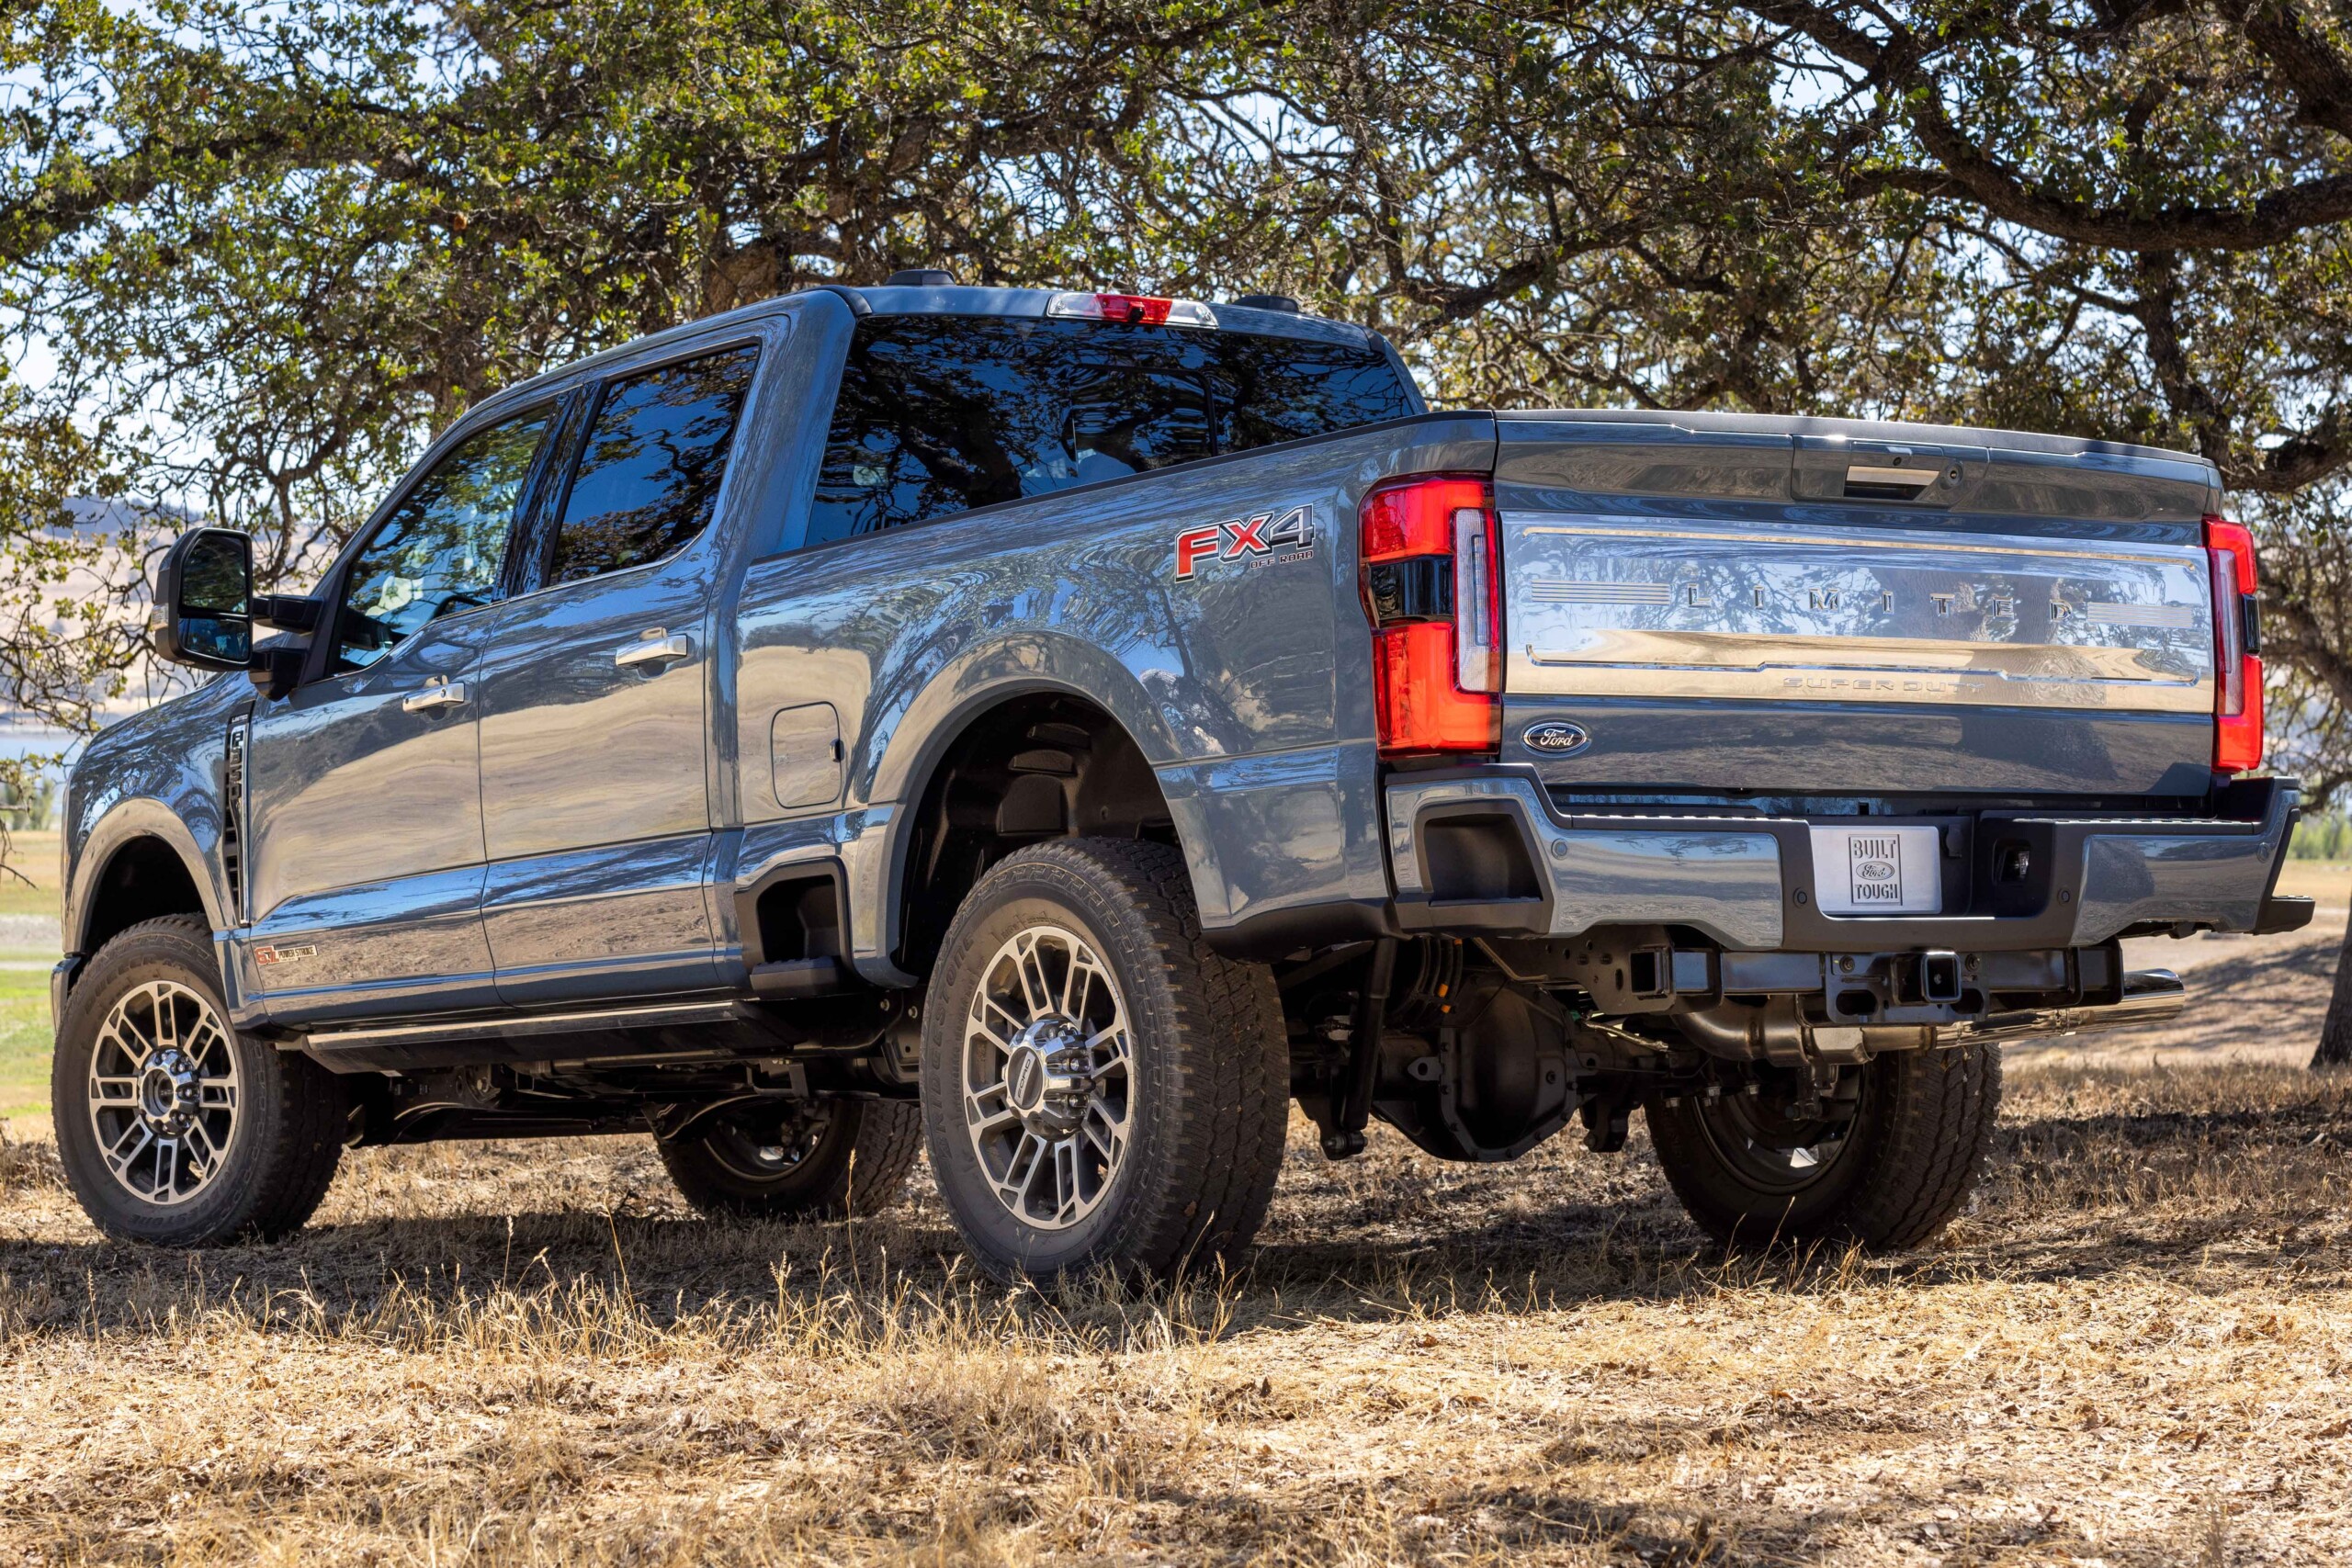
(6.4 Ford Power Stroke shown here) It is so important to cool the boosted air that Ford (as well as most manufactures) has moved the intercooler in front of all of the other heat exchanges in the vehicle. Photo courtesy of Stage 3 Motorsports.
Intercoolers work because of a difference in temperatures of the working fluids (heat transfers from high to low). The greater the difference, the greater the heat transfer. When the OEM’s started adding intercoolers, they were mounted behind the AC evaporator. As the boost pressures have continued to increase, the air coming from the Evaporator wasn’t cool enough and the intercoolers were moved in front of the evaporators. Now, OEM’s are starting to move away from using air and are now looking at/or are using air to liquid coolers to keep the inlet temperatures down.

Spearco
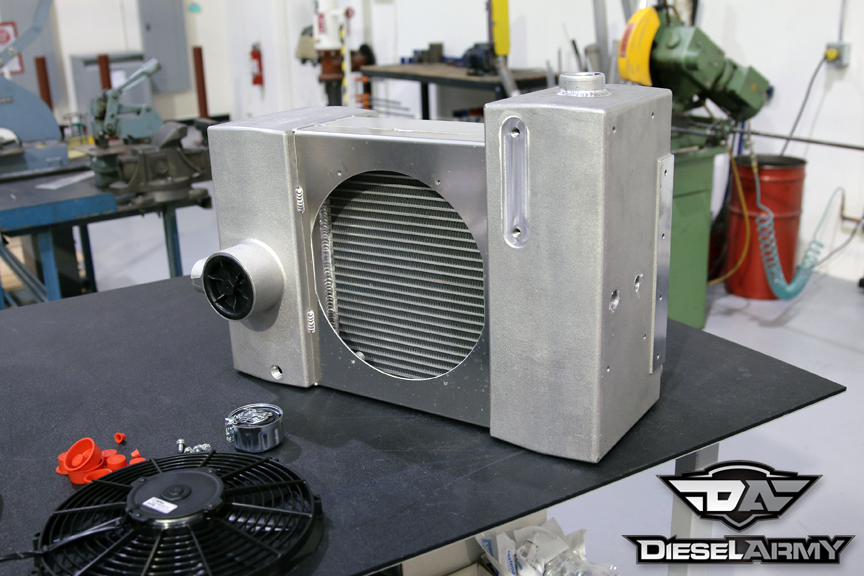
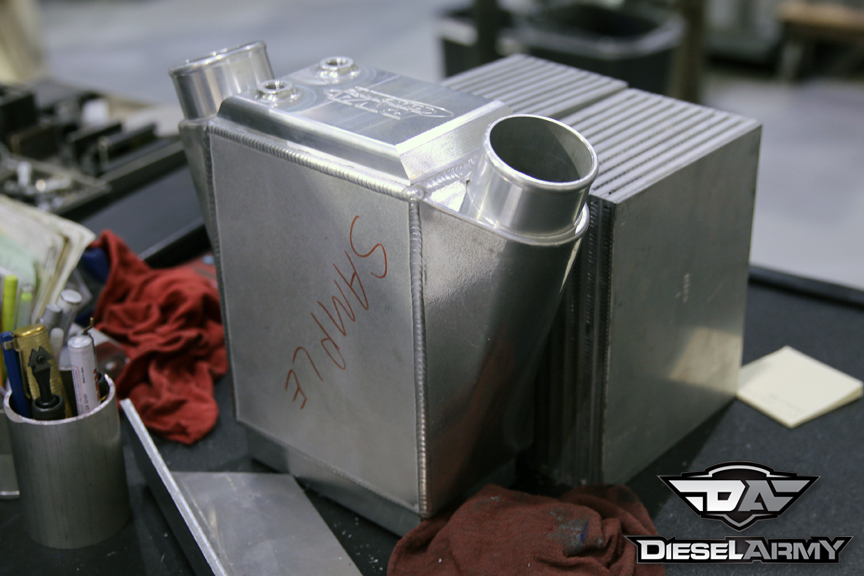
Spearco manufacturers air to air and air to liquid intercoolers for both industrial and automotive applications. The photo above is a giant air to oil heat exchanger for a hydraulic pump. Below is a water to air intercooler for racing applications. In addition to making a lot of different style of heat exchangers, they also manufacturer a wide range of sizes.
How well do they work?
But really, how much does a reduction in temperature mean? Well, if we continue with our assumption that air is an ideal gas, dropping the intake temperature down from 300 to 100 degrees Fahrenheit at 600 cfm, the air density would increase by roughly 35%. As you know, density means power! As the turbo outlet continues to increase in volume and temperature, the intercooler will continue to increase the air density as long as it is properly sized.
This “properly sized” wording is the key here. The OEM’s are extremely good at building systems that are just big enough to handle their parameters. As aftermarket turbochargers replace factory systems, it isn’t long before the factory intercooler cannot handle the volume and temperature (and pressure if they have plastic tank ends like a lot of them do now) increase. This is where an aftermarket intercooler comes into play. Most are built to handle large amounts of air flow with very little pressure drop (measured from inlet to outlet). These will help maintain factory inlet temperatures (to the cylinders) at much higher volumes than a factory intercooler could ever handle.
Now without getting into some very heavy math (heat transfer is tricky), there are a few key things to know about intercoolers. First and foremost not all intercoolers are equal. The basic construction does vary between manufacturers. All of them will have two tank ends and a core (the air passages and fins generally located in the middle of an intercooler). The construction of the tank ends varies quite a bit. Factory intercoolers are moving away from aluminum and moving towards plastic, whereas some companies use formed aluminum and others use cast aluminum. Then you have the biggest differences between them; the cores. These cores factor heavily in the efficiency of the heat transfer. Therefore, when looking for an intercooler, yes it is important that the intercooler fits your truck, but the core is something that you should be talking about and discussing.
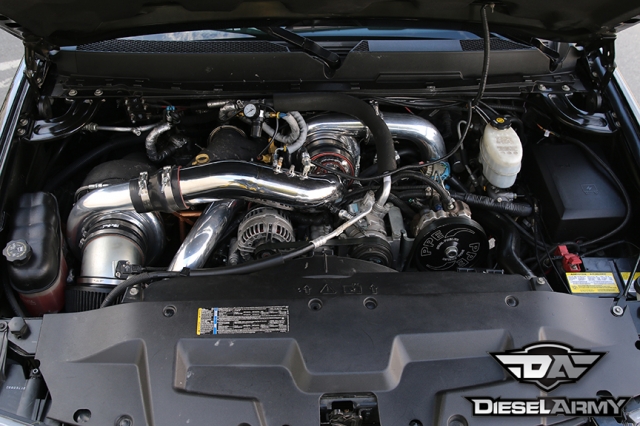
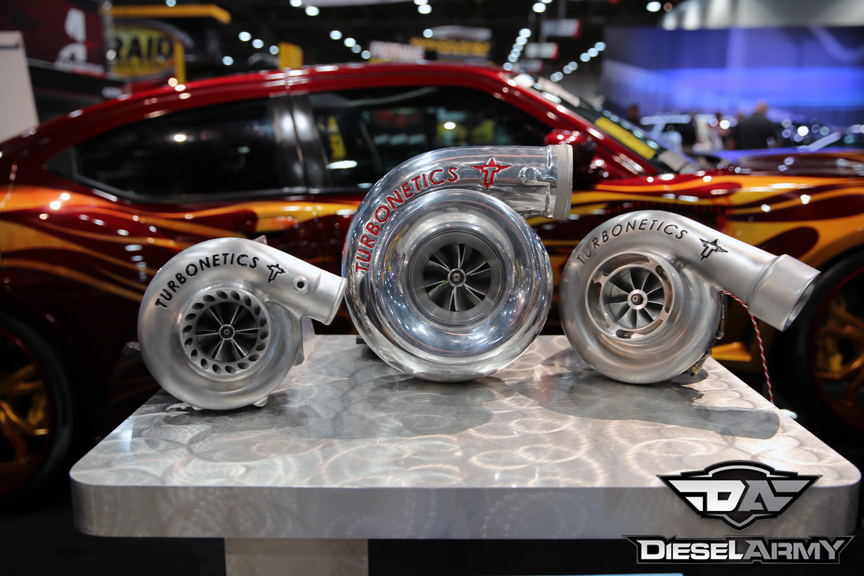
Compounds can be tuned to flow more air at lower boost pressure but most people use compounds to flow more air and higher boost pressures. The increased boost pressure can generate a lot of heat. This 1,000 horsepower truck produces over 90 lbs of boost.
Spearco


Spearco started out manufacturing turbocharger kits and exhaust manifolds back in the late 70’s. By the mid 80’s they saw a need and started manufacturing heat exchangers (intercoolers). That side of the business began to boom and by the mid 90’s, Spearco only built heat exchangers. In 2001, Turbonetics purchased Spearco from George Spears who started the company. Since then, they have been growing steadily. Today, about 50% of their business is industrial and the other half is performance automotive. “Our goal is to manufacture a higher standard of heat exchangers by utilizing skillfully trained personnel and industry leading design and development to produce an appealing product with high performing results,” say Reggie Wynn, Inside Sales Manager.
Cores
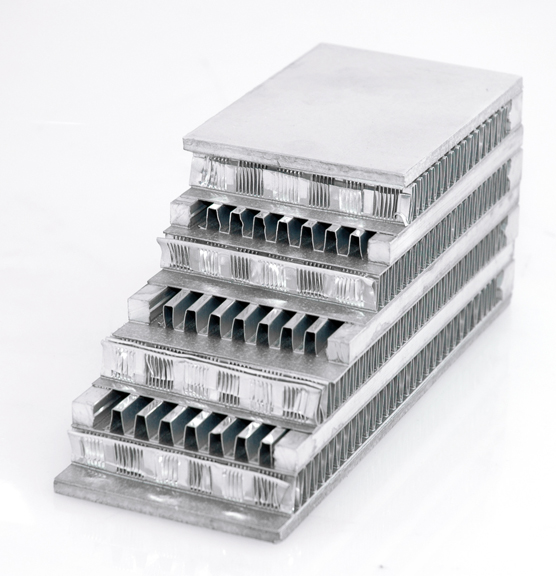
The heart of their intercoolers and heat exchangers are their cores. Spearco uses a bar and plate style. The bar and plate design is a very rugged design. The plate forms the lower and upper region of the air passage, while the bar forms the sides. In the middle of it all is a formed piece of sheet metal that increases the surface area to promote better heat transfer from the inside substance to the outside.
In between the bars and plates are fins. Like the fins inside of the intercooler, these fins help to promote better heat transfer. Spearco did extensive R&D work when they initially designed their intercoolers and came up with a unique fin design. The Wide Area Vane Effectiveness (W.A.V.E.) design promotes better heat removal than a standard fin. The W.A.V.E. design has been shown to reduce temperatures by up to an additional 30 percent over standard tube and fin designs. If you look at the photo above, you can actually see that the W.A.V.E fins are very complex. Within each fin, there are sets of louvers to disrupt the air and increase the heat transfer across the intercooler.
Tank Ends
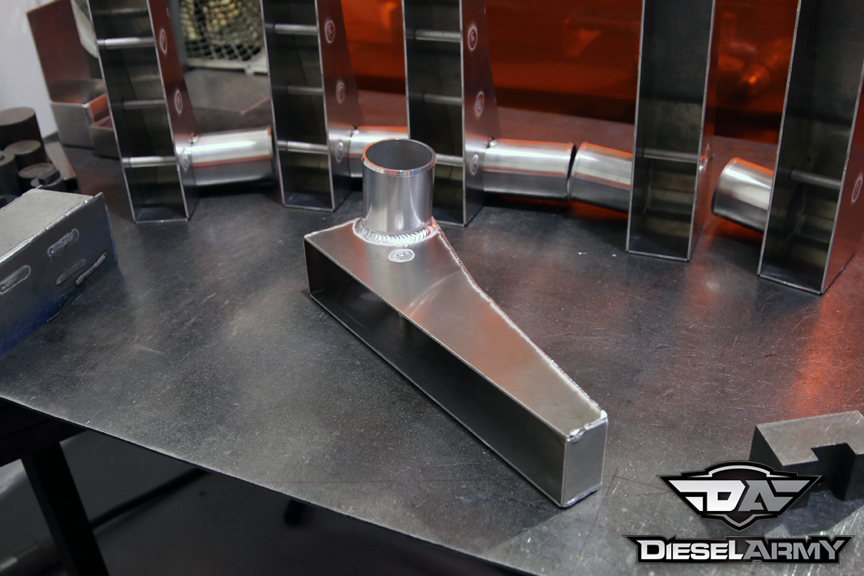
Turbonetics uses two different style tank ends (depends on application). They use cast tank ends and sheet metal tank ends. The sheet metal tank ends start out life as sheets of aluminum that are then cut down to size. Once the sheets are the right shape and size, they are formed (bent) according to their specific application. There are dies and patterns for every step of the process to ensure that the pieces are being formed appropriately. When they have enough tank ends shaped, they are handed off to one of their certified TIG (Tungsten Inert Gas) welders.
The TIG welders then take the individual pieces and weld them together to make a whole part. Initially, they start with a batch of tank ends (left side or right side). They line the pieces up and tack all of the pieces in together every few inches. These tack welds are crucial as they not only hold the piece together, but they are also what dictates the final shape and fitment. A lot of care and attention is given to the tacks.

Once everything is tacked in place, they weld a cross tube in the tank ends. These little tubes help hold the tank rigid under high boost applications. What they have found in their testing was that even though the tank ends are made out of thick aluminum, they can still bow under high boost pressures. To prevent this, they weld the tube in to give the sides more strength and rigidity without having to go to an even thicker aluminum or add a bunch of weight to the intercooler.
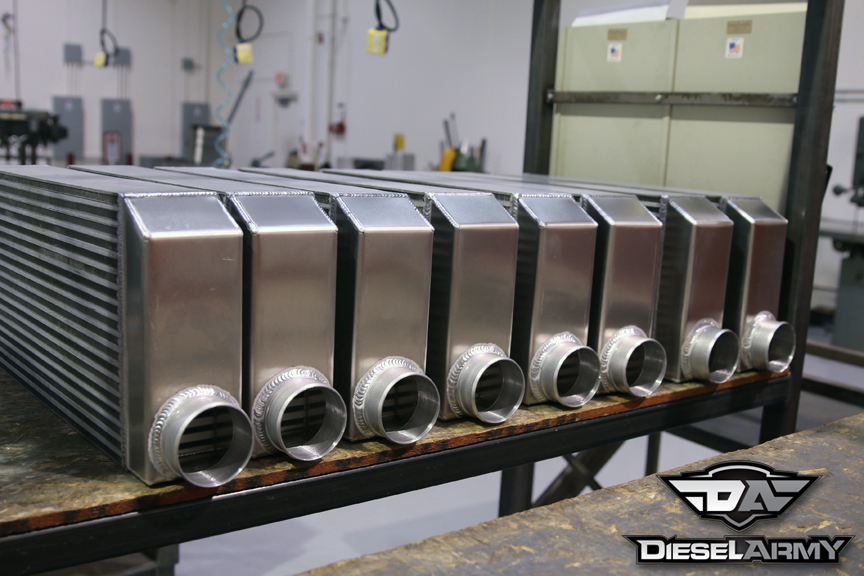
After everything is tacked together, they fully weld the seams. When looking at the finished product it is hard to tell, but they actually only weld a few inches at a time and then move on to the next area because they don’t want to warp the material. Aluminum can only take so much heat before it starts to deform. Their skilled welders make the transitions between beads flawless.
 Once both tank ends are fully welded, they are then welded to the core. If the tank end is cast, this is also the step where the assembly comes together. Every step along the process, they have someone looking the joints and the overall part quality over to ensure that things are fitting right and looking good.
Testing
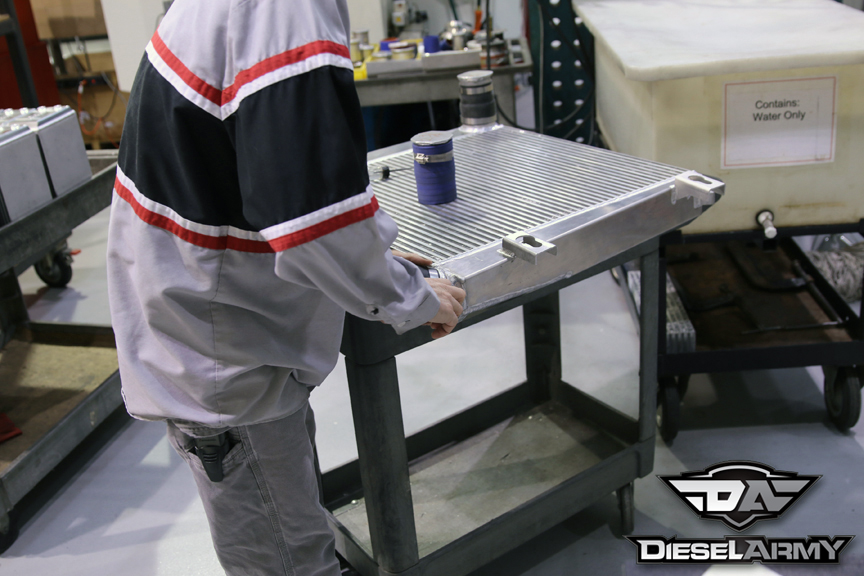
After everything is welded together, they leak test each intercooler to ensure that there are no issues and it meets their quality standards. Now when most people think of leak testing an intercooler, they picture air being pumped into the intercooler as it is held under water. All this actually does is show where a leak is. What Turbonetics wants to know is if there is a leak and how big is it.
They take testing to a different level by hooking up each intercooler up to a flow meter. To do this, they connect a coupler and cap on one end. On the other end, they hook up a coupler and a cap that has an air fitting. With everything hooked up, they turn on an air pressure regulator to start sending compressed air to the intercooler. They start off slowly to ensure that the couplers are holding and that everything is being done safely because the last thing they would want is for a cap to blow off and send it into the air potentially hurting someone.
Once they are sure everything is holding, they increase the pressure up. On production pieces, they test everything to 20 psi to check for leaks. During prototyping and development, they test the intercoolers at much higher pressures which helps to ensure the design can handle the higher pressures. Testing at the higher levels is dangerous as any failure could result in flying projectiles so this is done only when needed. As they pressurize the intercooler, the first gauge reads pretty high because it is reading the actual amount of air flowing into the intercooler.

As the intercooler starts to pressurize, the flow starts to come down because not as much air is being forced into the intercooler to increase its pressure. Once the pressure in the intercooler reaches the same pressure as the supplied pressure, the ball in the flow meter falls almost all the way down. They keep the system at a steady state for a specific amount of time. During this test, they are looking to see if the flow meter is reading anything and if so, how much it is reading.
If the flow meter is still registering, they note how big the leak is and then submerge it underwater to locate the source of the leak. Nothing is sent out until it passes this leak test and quality inspection.
From there the next step is shipping to your house for installation.


